Creating a Relay Module
To start off, we can create a relay module using one of Cisco XDR's relay templates for Python, NodeJs, or Go. If these are not desirable, the module can be made in any other language as long it is able to receive and respond to API requests.
For the rest of this guide, we will be using NodeJs as our preferred relay module programming language. We will be using VS Code as well for our IDE.
Install dependencies
If using Python, NodeJs, or Go, please install the required software to make sure code will run on your operating system.
This guide will use NodeJs. Please install NodeJs for your operating system from here: https://nodejs.org/en/download
Clone a Template
Open a terminal and run this command git clone https://github.com/technicalnoodles/xdr-integration-template-code.git
Now lets change into the xdr-integration-template-code directory and then go into the node-express directory.
You may rename this to any other name you want, but this guide will use node-express. Now let us install all the dependencies. Run node i in the terminal, that will install all the dependencies from the package.json file.
Then you may open this directory in your IDE of choice, this guide will use VS Code. In the terminal, you can run code . from the node-express directory and it will open a VS Code window.
Test the Relay Module Locally
Before we get to coding the entire module and then find out the basic functionality of actually running and responding doesn't work, we want to first run the relay module locally. To do this with Node, we need to be in the node-express directory and in our terminal run the command node index.js. Based on the template, it will start a server on port 5000.

Now we can do a test to check if the health check is working for the relay module. In another terminal window or tab, run curl localhost:5000/health. This should return a status ok and that means we have a running web server that responds to requests. But we need to know if XDR will be able to query it as well.

If you have the jq command installed, we can pipe the command into jq and get an easier to read version of the status. curl localhost:5000/health | jq This will be useful as we build the relay module.

Test the Module Locally (from XDR)
To test the module from our on-prem device (laptop, desktop or other internal development server), we will use ngrok to facilitate the connection between the local server and XDR.
[!NOTE] If you do not want to use ngrok, I would recommend developing the relay in a cloud provider with a public IP on the VM, or by port forwarding to your development server. Set the firewall rule to only allow your IP address access to the VM. Please do not leave either of these options constantly running because of security risks.
We must first get ngrok from this link: https://download.ngrok.com/
Then follow the instructions to get a ngrok auth token added to your profile. Then using the Ephemeral Domain option, run the command listed but change the port to 5000. It should look similar to this command ngrok http http://localhost:5000.
It should return a status page in your terminal:
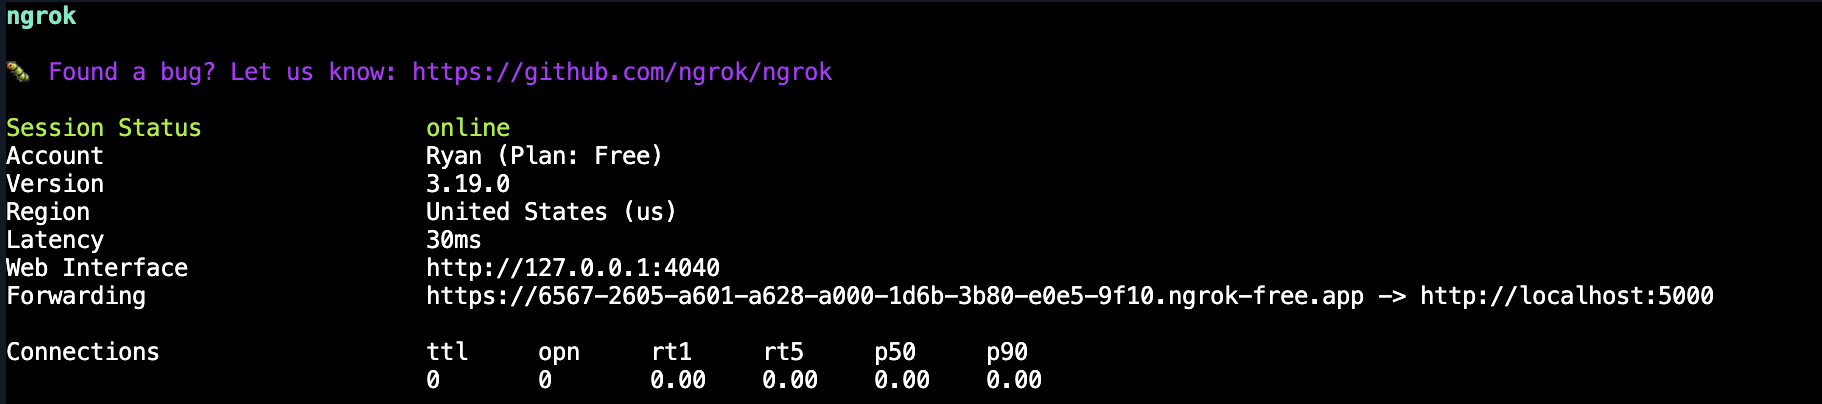
Copy the Forwarding URL and store it somewhere easily accessible. Now, let us test that we can get to the relay module externally now.
Run curl <forwarding url>/health | jq
It should return the same status ok we got earlier when testing locally. This means we can get this working with XDR.

Since the ngrok tunnel is working, we need to log into XDR and go to the Integrations section. To do this, go to Administration -> Integrations.

Then go to Third Party Integrations.
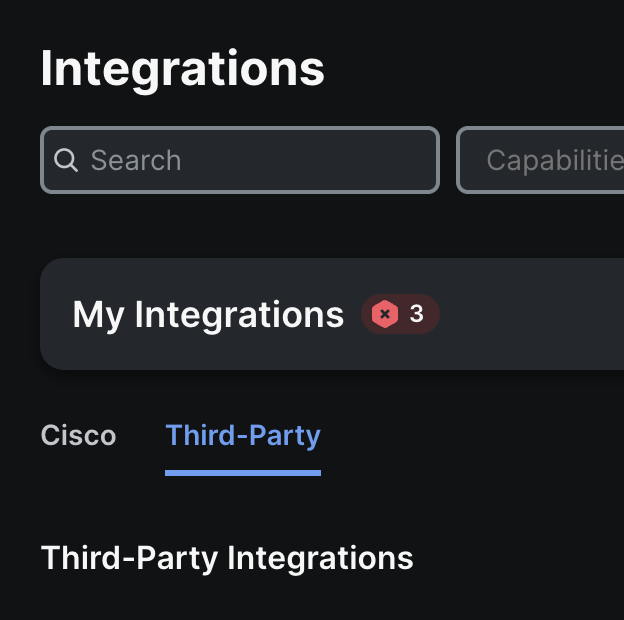
Once there, scroll down until you find the Generic Serverless Relay.
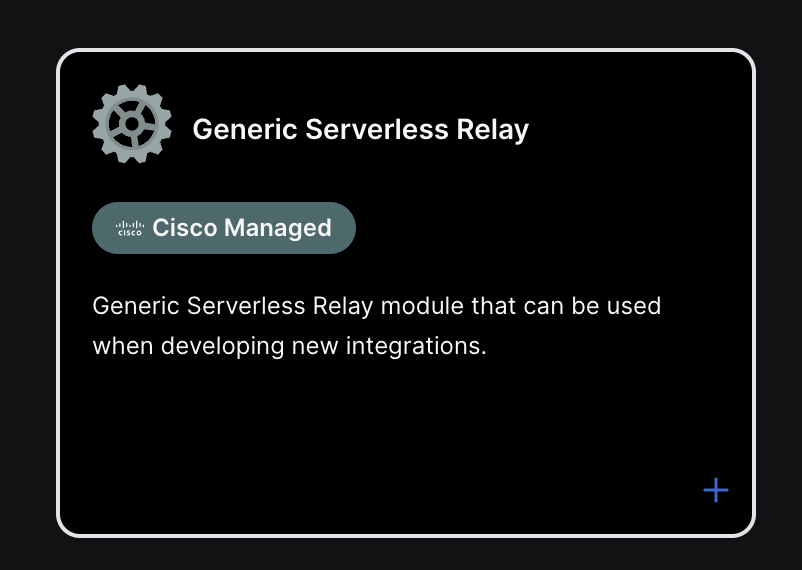
Click on the + sign to add this to your XDR account.
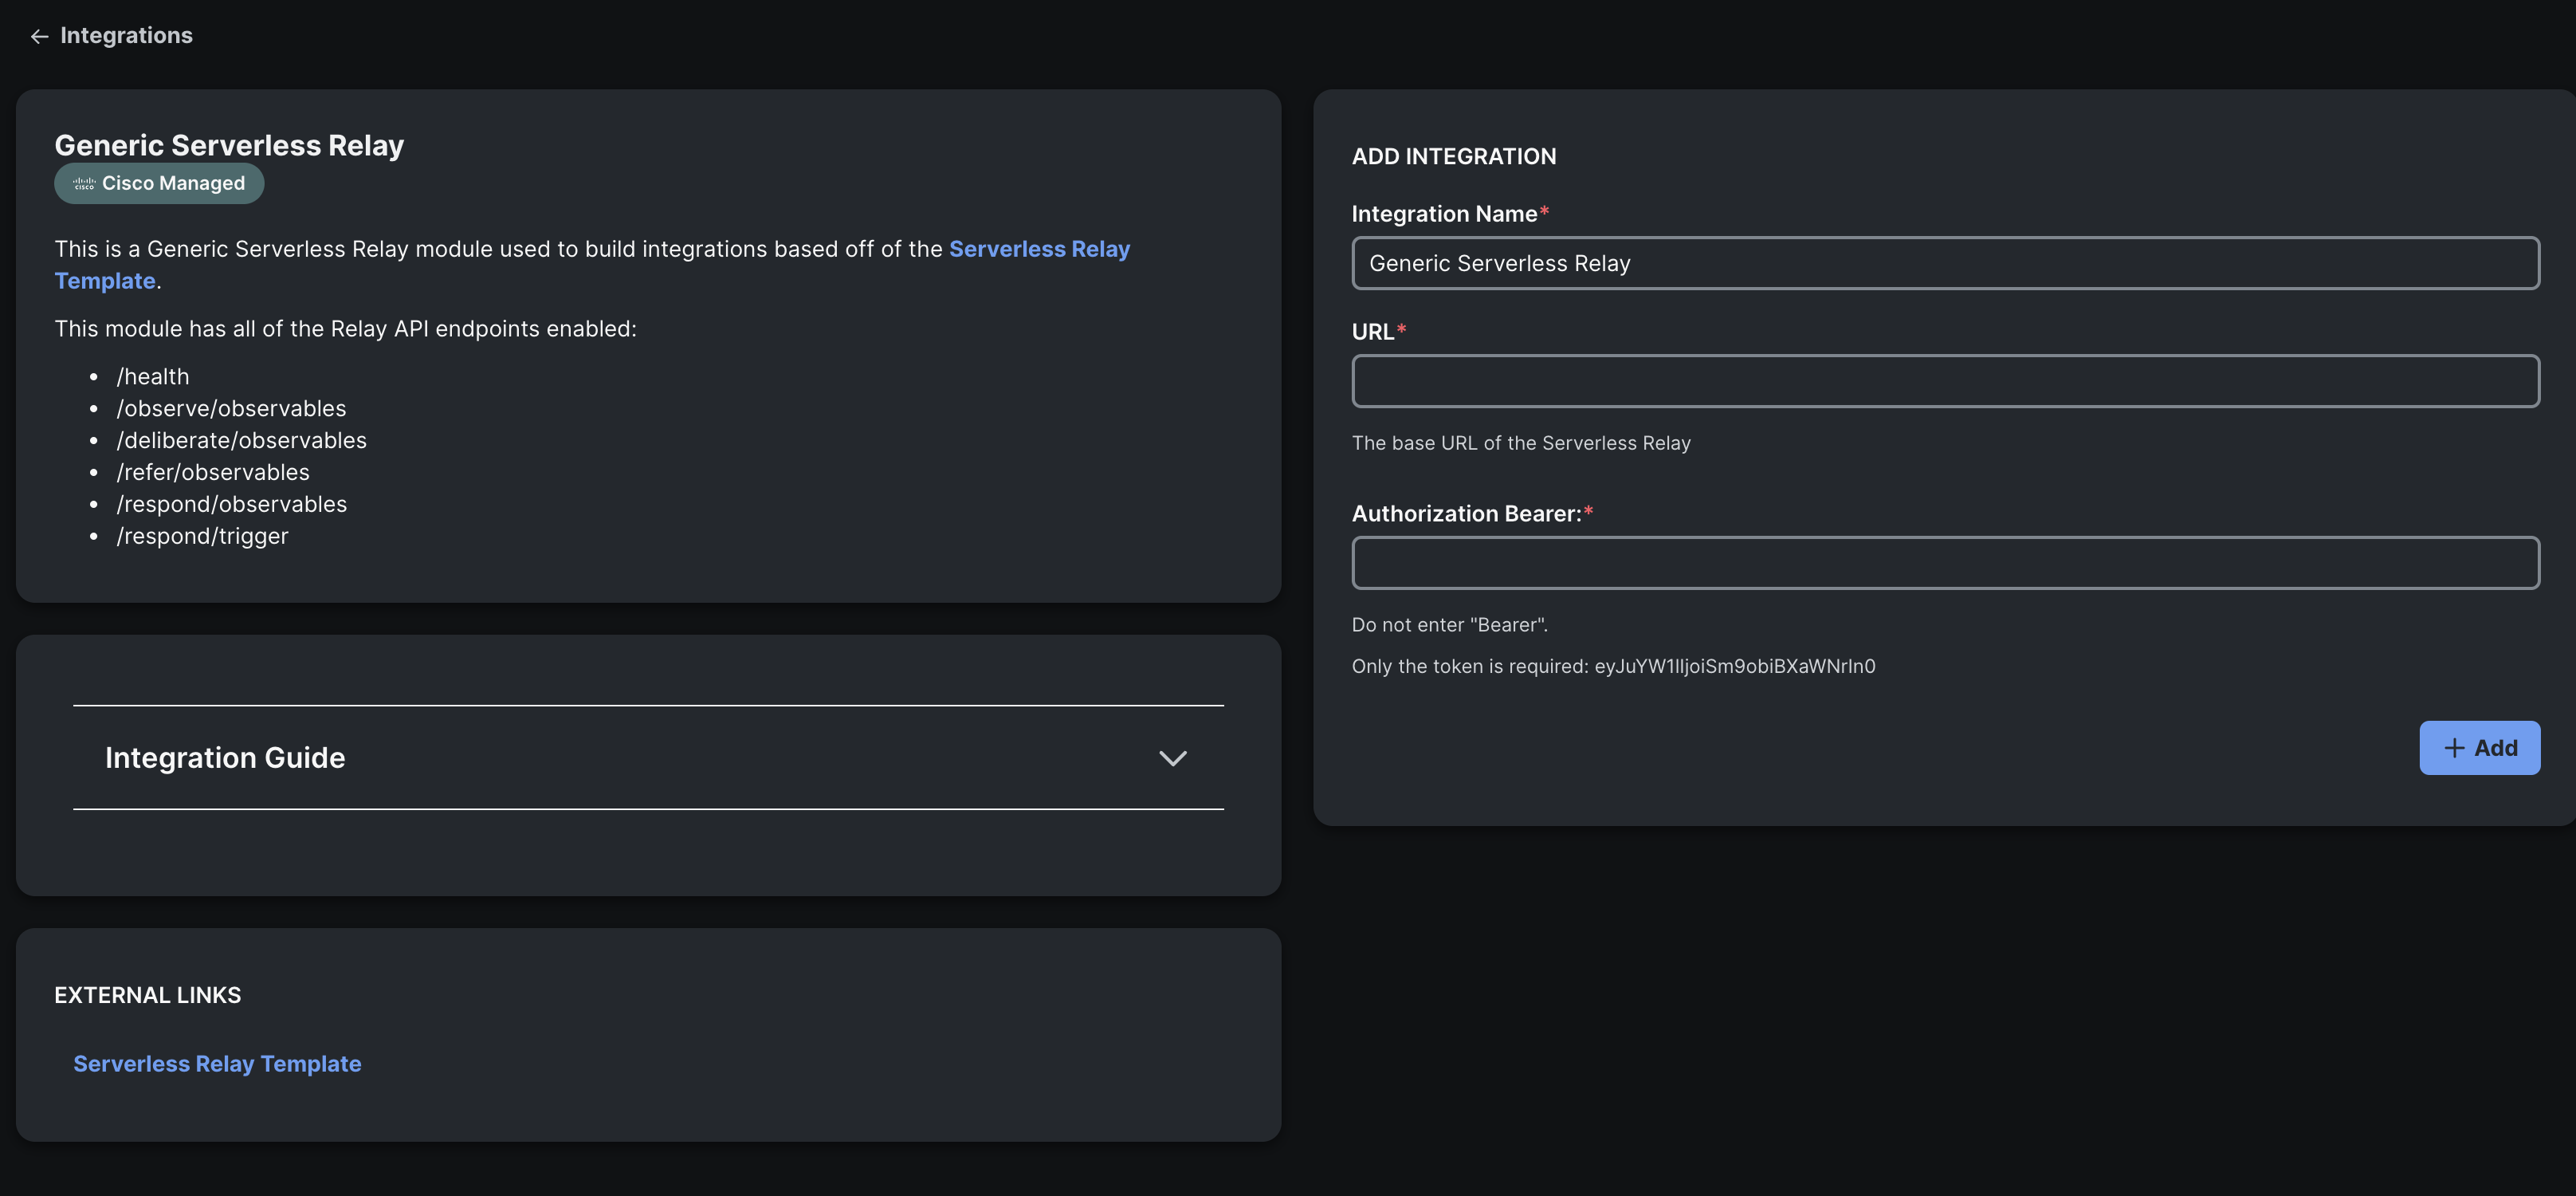
It should bring up a new page where we can setup the relay.
For this guide, we will use Wazuh an Opensource XDR as our integration. You may use any that want, but to be able to follow along step by step, we recommend using Wazuh as well.
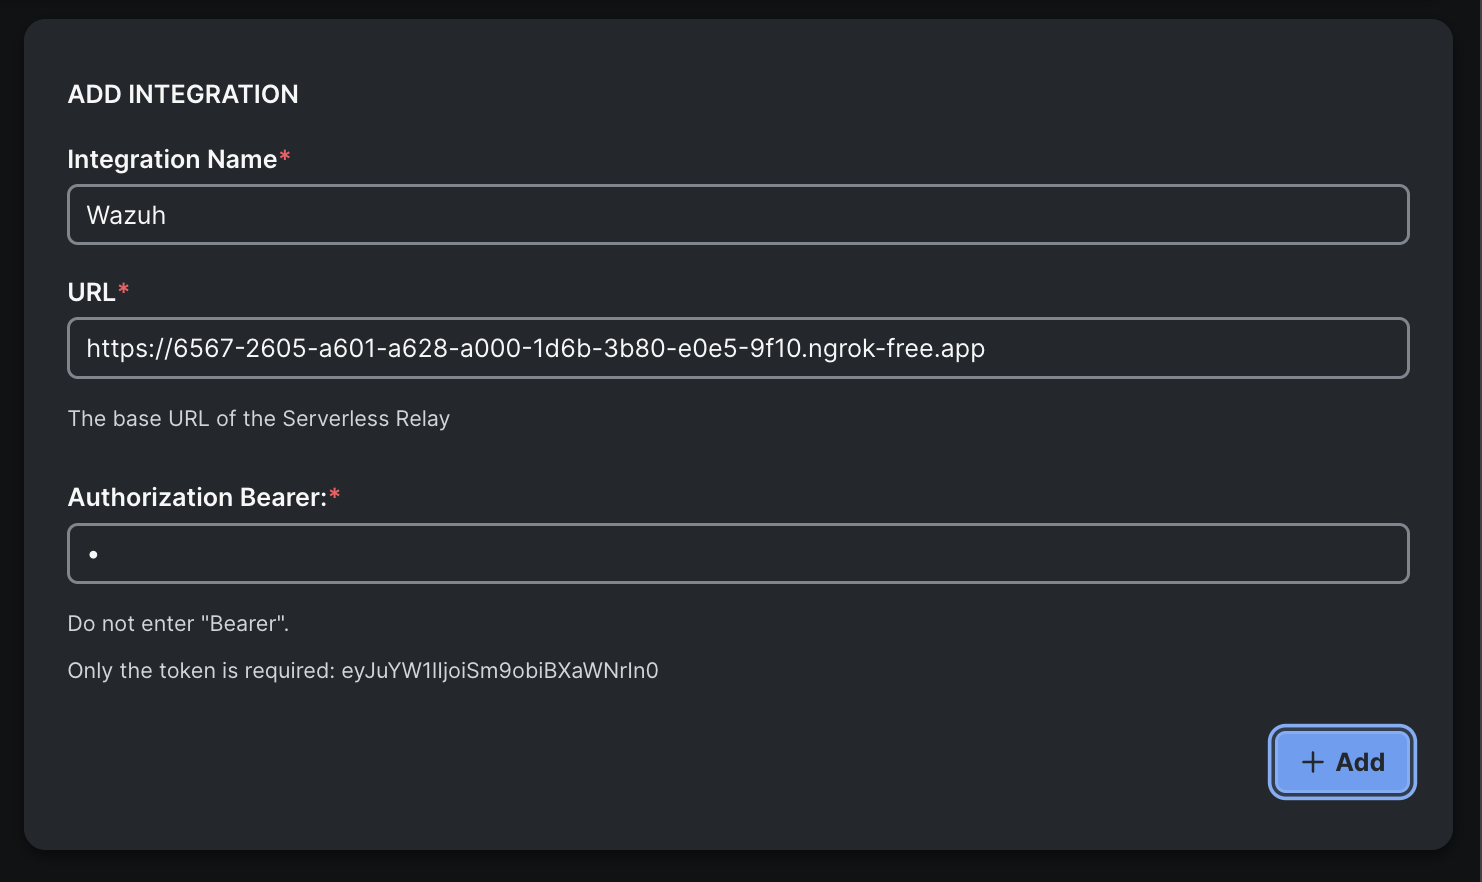
In the Integration Name field, input Wazuh.
In the URL field, enter the ngrok Forwarder URL with nothing at the end of it.
In the Bearer field, you may enter whatever you want. We will not be using one now.
Your relay settings should look like the below:
Before we click on Add, we need change the health check from a GET to a POST. Go to the routes -> health directory. Open the healthRoute.js file. It should look like this:
module.exports = (app) => {
  app.get('/health', async (req, res) => {
    res.send({ data: { status: 'ok' } });
  });
};
We need to change the GET type to a POST. Replace get with post. It should now look like the below:
module.exports = (app) => {
  app.post('/health', async (req, res) => {
    res.send({ data: { status: 'ok' } });
  });
};
Save this file and then restart the Node server by using CTRL + C then running it with node index.js.
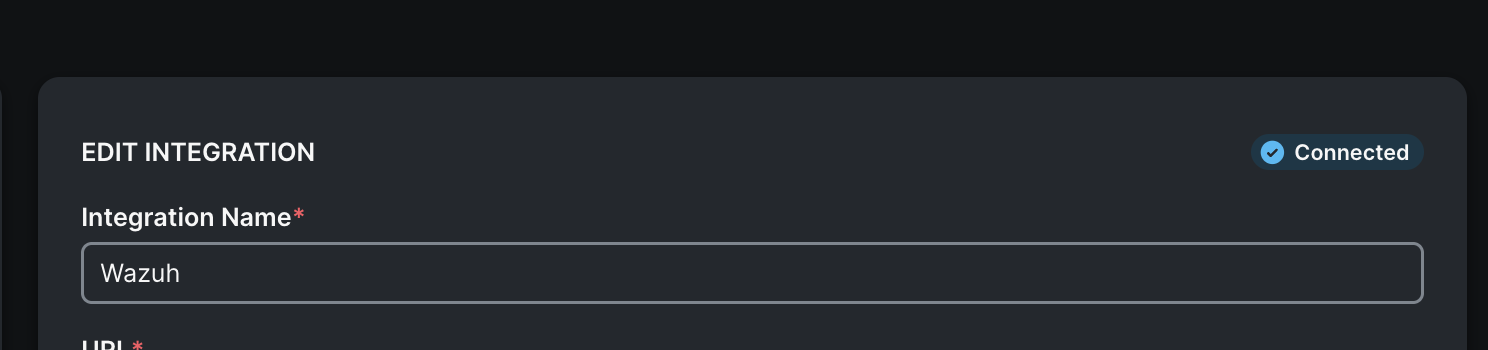
Now that we have done that, we can click on Add.
You should get a connected message.
With this, we have finished making sure the module is running and accessible and that XDR can connect to it.
[!NOTE] This is a quick way get an integration connected to Cisco XDR for development. But it will not have everything that can be done with a relay module. As an example, if your product is able to provide value to the XDR Dashboard area, then we will need to create a module type that enables the tile functionality.
Next, we will create a module type. This is the official way to add an integration to Cisco XDR and it is how your product will be shown within the Cisco XDR Integrations page.