Customizing a Step
You can customize all of the steps in the Cisco Unified CCX Editor by opening windows called customizer windows. A customizer window contains fields you can configure to meet the needs of your script. The configuration fields on the customizer windows are called properties.
To display the customizer window for a Cisco Unified CCX Editor step, do the following.
Procedure
| Step 1 | In the tool bar, select the Blank script button. The Start icon and End icons appear in the Design pane. | ||||||||||||||
| Step 2 | In the Editor palette, select and drag the Accept icon from the palette into the Design pane under the Start icon. | ||||||||||||||
| Step 3 | Right-click the Accept icon. The Properties popup menu appears.
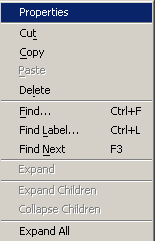 | ||||||||||||||
| Step 4 | Select Properties. The customizer window of the Accept step appears.
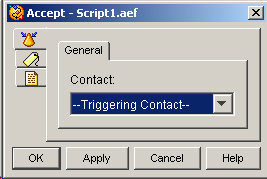
Use the customizer window of each step to configure the properties of that step. Customizer windows have text fields and or selection fields that you use to configure properties. They might have multiple tabs. Each customizer window contains four buttons:
Customizer windows might also have additional buttons that you can use to modify and display various properties within a step. In addition, customizer windows typically display three tabs with icons at the top left corner of the window.
|
