Phase 4 – Connecting to Cisco IOx Local Manager
Cisco IOx Local Manager (LM) provides a web-based user interface that you can use to manage, administer, monitor, and troubleshoot apps on a router, and to perform a variety of related activities.
WebUI Enablement
LM requires the IOS WebUI interface to be enabled using the following IOS CLI configuration.
Enable IOS HTTP services that are required for LM support:
conf t>
!!! example user login with required level 15 access
username cisco privilege 15 password 0 cisco
!
ip http server
ip http authentication local
ip http secure-server
end
- Administrator login must have level "15" access as shown above in the example configuration.
- "http" requires "ip http server" to be configured.
- "https" requires "ip http secure-server" to be configured.
Local Manager Connection
This section describes how to connect to Cisco IOx Local Manager from your PC. These instructions assume that your PC has a wired Ethernet port on your computer that is set to obtain an IP address via DHCP.
Many computers may have routing issues when more than one active network connection exists, especially if your organization uses the 10.0.0.0 IP address space. You may need to shut off WiFi on your PC if you cannot telnet to the router.
To connect to Cisco IOx Local Manager, follow these steps:
Your computer must be have network connectivity to the platform through one of these methods:
a. Corporate networking
Corporate routing allows either your WiFi or ethernet cable connection to the corporate network to ping from your computer to the platform.b. Direct ethernet cable connection to the platform
An Ethernet cable attached to the Ethernet port on your computer is directly connected to the platform's management interface or front-panel data port that has an assigned IP address. Both devices are configured to be on the same subnet.Take these actions to verify the network connection:
a. Launch a command console from your computer's operating system.
b. Ping from your computer to the target platform using "ping ROUTER-IP-ADDRESS" in the command console to validate network connectivity.
Example of ping where the platform routable IP address is 172.25.101.161:
C:\Users\computer>ping 172.25.101.161

Pinging 172.25.101.161 with 32 bytes of data:
Reply from 172.25.101.161: bytes=32 time=1ms TTL=248
Reply from 172.25.101.161: bytes=32 time=1ms TTL=248
Reply from 172.25.101.161: bytes=32 time=1ms TTL=248
Reply from 172.25.101.161: bytes=32 time=1ms TTL=248

Ping statistics for 172.25.101.161:
    Packets: Sent = 4, Received = 4, Lost = 0 (0% loss),
Approximate round trip times in milli-seconds:
    Minimum = 1ms, Maximum = 1ms, Average = 1ms
Verify the router has been IOS configured to enable WebUI access as described above in Section "WebUI Enablement".
To access Cisco WebUI, open a web browser and enter https://ROUTER-IP-ADDRESS:443 (Example: https://172.25.101.161:443) in the address bar.
If a security exception message appears in your browser, confirm the exception to continue to the Cisco WebUI Log In screen.
If you see the message “For best results use a supported browser" near the top of this screen, your browser may have compatibility issues with this version of Cisco IOx Local Manager. In this case, we recommend that you load a compatible browser. Hover your mouse pointer over the down-arrow next to this message to see a list of compatible browsers as shown in the following figure.
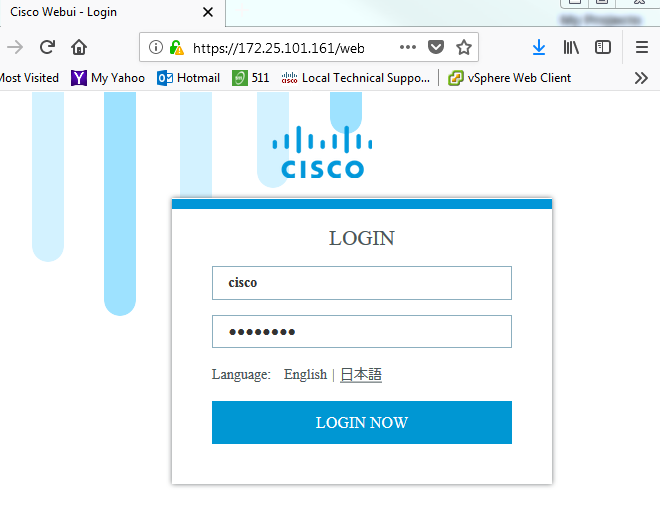
Take these actions to log in to Cisco WebUI, assuming a username "cisco" witha privlege access level of 15 and a password of "cisco" were configured as in the example configurations provided in the above Section "WebUI Enablement".
a. In the Username field, enter cisco. b. In the Password field, enter cisco. c. Click the LOGIN NOW button.
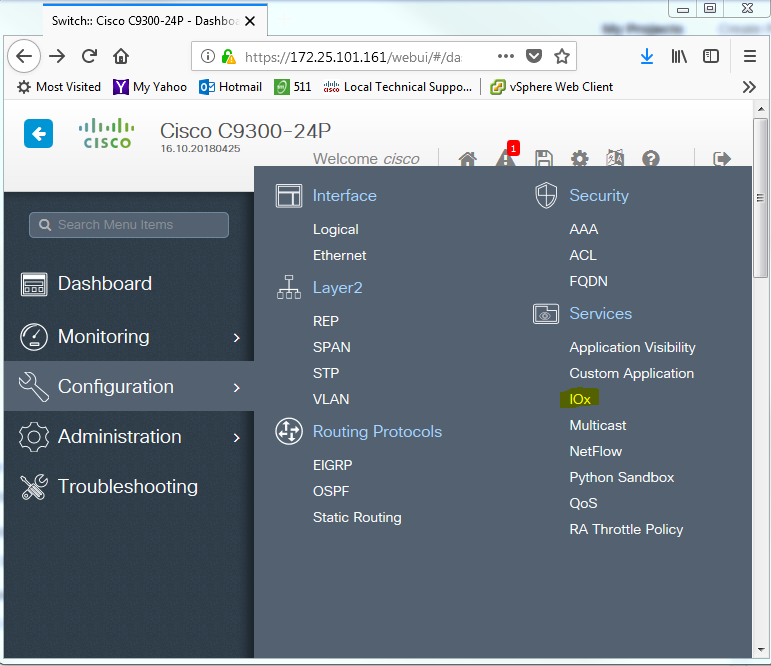
Take these actions to log in to Cisco IOx Local Manager, assuming a username "cisco" witha privlege access level of 15 and a password of "cisco" were configured as in the example configurations provided in the above Section "WebUI Enablement".
a. Click Left Panel "Configuration" b. Under "Services" category, click "IOx" to bring up the LM login webpage where the same username/password used for WebUI login is applied. c. In the Username field, enter cisco. d. In the Password field, enter cisco. e. Click the Log In button.
- Click "Applications" tab, select Application box and "Manage" button
Your router is now ready for Cisco IOx application development.
Troubleshooting
- Browser SSL Errors seen when trying to connect to WebUI similar to the message below:
172.25.101.161 sent an invalid response.
ERR_SSL_PROTOCOL_ERROR
This is caused by stale Self-Signed Certificates. To regenerate a new valid one, do:
Disable NGINX webserver
Switch#conf t
Enter configuration commands, one per line.  End with CNTL/Z.
Switch(config)#no ip http secure-server
Switch(config)#end
Switch#
Remove Self-Signed Certificate
a. Find the Certificate namesSwitch#show run | include crypto pki trustpoint crypto pki trustpoint TP-self-signed-2614730555 Switch#b. Remove the listed "trustpoint" Certificates
Switch#conf t
Enter configuration commands, one per line.  End with CNTL/Z.
Switch(config)#no crypto pki trustpoint TP-self-signed-2614730555

% Removing an enrolled trustpoint will destroy all certificates
 received from the related Certificate Authority.

Are you sure you want to do this? [yes/no]: yes
% Be sure to ask the CA administrator to revoke your certificates.

Switch(config)#end
Switch#
c. Verify Certificates are completely removed
Switch#sh run | include trustpoint
Switch#
Restart NGINX webserver
Switch#conf t
Switch(config)#ip http secure-server

CRYPTO_PKI: setting trustpoint policy TP-self-signed-2614730555 to use keypair TP-self-signed-2614730555
Switch(config)#
Jun  2 01:54:18.539: %PKI-4-NOCONFIGAUTOSAVE: Configuration was modified.  Issue "write memory" to save new IOS PKI configuration
Jun  2 01:54:18.541: %DMI-5-SYNC_NEEDED: Switch 1 R0/0: syncfd: Configuration change requiring running configuration sync detected - 'ip http secure-server '. The running configuration will be synchronized  to the NETCONF running data store.
Jun  2 01:54:18.542: %DMI-5-SYNC_START: Switch 1 R0/0: syncfd: External change to running configuration detected. The running configuration will be synchronized to the NETCONF running data store.
Jun  2 01:54:20.989: %DMI-5-SYNC_COMPLETE: Switch 1 R0/0: syncfd: The running configuration has been synchronized to the NETCONF running data store.

Switch(config)#end
Verify new Self-Signed Certificate regenerated
Switch#show run | include crypto
crypto pki trustpoint TP-self-signed-2614730555
crypto pki certificate chain TP-self-signed-2614730555
Switch#
Reload the device doing:
- wr mem
- reload
- Once device is fully reloaded, retry LM connection: "https://172.25.101.161"