Phase 4 – Connecting to Cisco IOx Local Manager
Cisco IOx Local Manager provides a web-based user interface that you can use to manage, administer, monitor, and troubleshoot apps on a router, and to perform a variety of related activities.
This section describes how to connect to Cisco IOx Local Manager from your PC. These instructions assume that your PC has a wired Ethernet port on your computer that is set to obtain an IP address via DHCP.
Many computers may have routing issues when more than one active network connection exists, especially if your organization uses the 10.0.0.0 IP address space. You may need to shut off WiFi on your PC if you cannot telnet to the router.
To connect to Cisco IOx Local Manager, follow these steps:
Connect an Ethernet cable from the GE0 port on the router to the Ethernet port on your computer.
Take these actions to verify the network connection:
a. Launch another session of your serial communications program and establish a Telnet connection.
b. In this session, go to the IP address 10.0.0.1 and log in with the user name root and the password root.
c. Make sure that the IR800# prompt appears. These actions should appear as follows in your Telnet client:
 Trying 10.0.0.1...
 Connected to 10.0.0.1.
 Escape character is '^\]'.
 User Access Verification
 Username: root
 Password:
 IR800#
Open a web browser and enter https://10.0.0.1:8443 in the address bar.
If a security exception message appears in your browser, confirm the exception to continue to the Cisco IOx Local Manager Log In screen.
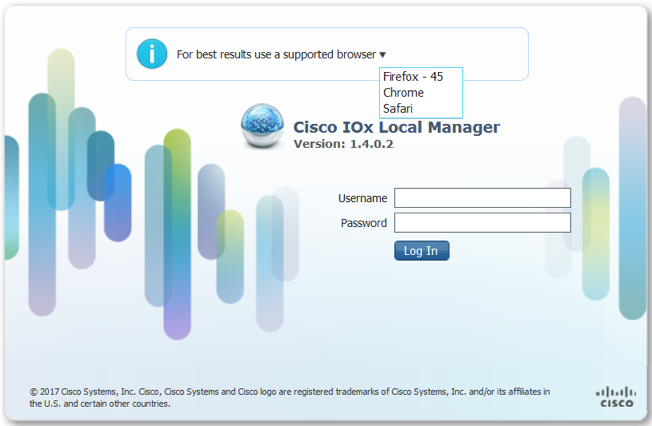
If you see the message “For best results use a supported browser" near the top of this screen, your browser may have compatibility issues with this version of Cisco IOx Local Manager. In this case, we recommend that you load a compatible browser. Hover your mouse pointer over the down-arrow next to this message to see a list of compatible browsers as shown in the following figure.
Take these actions to log in to Cisco IOx Local Manager:
a. In the Username field, enter root.
b. In the Password field, enter root.
c. Click the Log In button.
Take these actions in Cisco IOx local manager:
a. Click the System Setting tab.
b. In the System Setting tab, uncheck the Application Signature Validation check box.
c. In the System Setting tab, click Save Configuration.

Your router is now ready for Cisco IOx application development.