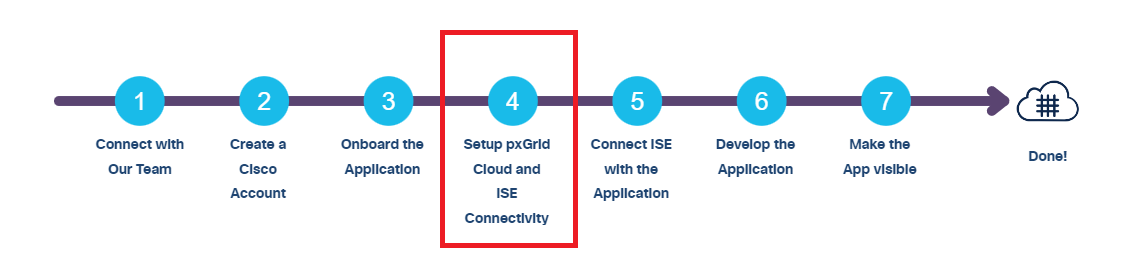
Setup pxGrid Cloud and ISE Connectivity
Activate pxgrid Cloud
pxGrid Cloud in the Cisco Catalyst Cloud portal enables you to share contextual information between Cisco Identity Services Engine (Cisco ISE) and cloud-based solutions without compromising the security of your network. Follow he steps outlined below to activate pxGrid Cloud and avail its benefits.
- In the Cisco Catalyst Cloud portal home page, click the Menu icon (
 ) and select Applications.
 - From the Region drop-down list, choose the appropriate region. You choose between the U.S., Europe, Asia Pacific and Japan.
- Click Activate in the app. If you do not select the region in the Applications window, a Select Region dialog box is displayed. You can select the required region in this dialog box, and then click Activate.
- (Optional: If subscribing to a region for the first time) Check the check box to agree to the terms and conditions and click Subscribe.
Note: pxGrid Cloud is supported in the U.S., Europe, Asia Pacific and Japan.
Register your ISE
- Navigate to Menu > Applications and Products > Product.
- Choose your Region.
- Click Register.
- In the Activate Application for your Product window, enter the required details, such as Name and Description (if any).
- In the Choose Your Product window, click ISE from the Type drop-down list to choose it for registration.
- Click Register.
- Copy the One-time Password (OTP) to enroll your ISE in the next sub-task.
Enroll your ISE
Use the OTP from the Register your ISE sub-task to enroll your ISE.
- In the ISE GUI, click the Menu icon () and choose Administration > pxGrid Services > Client Management > pxGrid Cloud Connection.
- Click Setup Connection.
- Enter the OTP in the Setup Connection window, and then click Connect.
Connect pxGrid Cloud to the Application
- Copy the one-time password (OTP) displayed in the Authenticate your Application window of the Cisco Catalyst Cloud portal and enter it in your application’s interface to redeem it. Note: This window is not displayed when there are existing application instances.
- Return to the Authenticate your Application window after the OTP is redeemed. Click Re-verify to refresh the window and continue with the workflow.
- (Optional: If you are using a multi-instance app) In the Choose Application Instance window, click the required instance name to select it. Click Create a New One to create a new application instance. Note: If you are creating a new instance, redeem the OTP and continue with the workflow.
When the connection is successfully established, the connected tenant details are displayed in the app.
For information on how to integrate ISE with pxGrid Cloud, see Cisco pxGrid Cloud and Cisco ISE Integration in the Cisco pxGrid Cloud Solution Guide.