Authentication
To access the EI API, generate an access token using the API Key in the EI Operations Dashboard. Assign roles to the API Key, which determines the set of APIs that can be invoked using the API Key.
A description of what actions are allowed with each role can be found here.
After authenticating with the /iam/auth/token API, you will receive an authorization token. Include this token in the request for each subsequent API operation.
An API key is a unique identifier used for authentication in APIs. It can have different levels of roles and access. An access token is a specific type of credential issued after successful authentication. It is used to access protected resources on an API and identify the organization for which the API call is made in our multi-organization architecture-based application.
The process of authentication requires User Credentials. For the procedure, refer here.
Authorization is based on the user's role.
There are five permissions are available in EI, which are as follows:
- Asset Management
- Data Management
- Develop and Manage Data Logics
- EI System Management
- Operations Management
Here is a list of APIs that require the above-mentioned permissions:
API Permissions GET agents Users need at least one of five permissions. GET assetTypes Users need at least one of five permissions. POST assetTypes Users must have Asset Management permission. GET assetType Users need at least one of five permissions. DELETE assetType Users must have Asset Management permission. UPDATE assetType Users must have Asset Management permission.
We already have some roles in EI. Using different combinations of these, administrators can create numerous custom roles.
API Key Creation
When generating an API Key, select the Roles and Expiration period/duration.
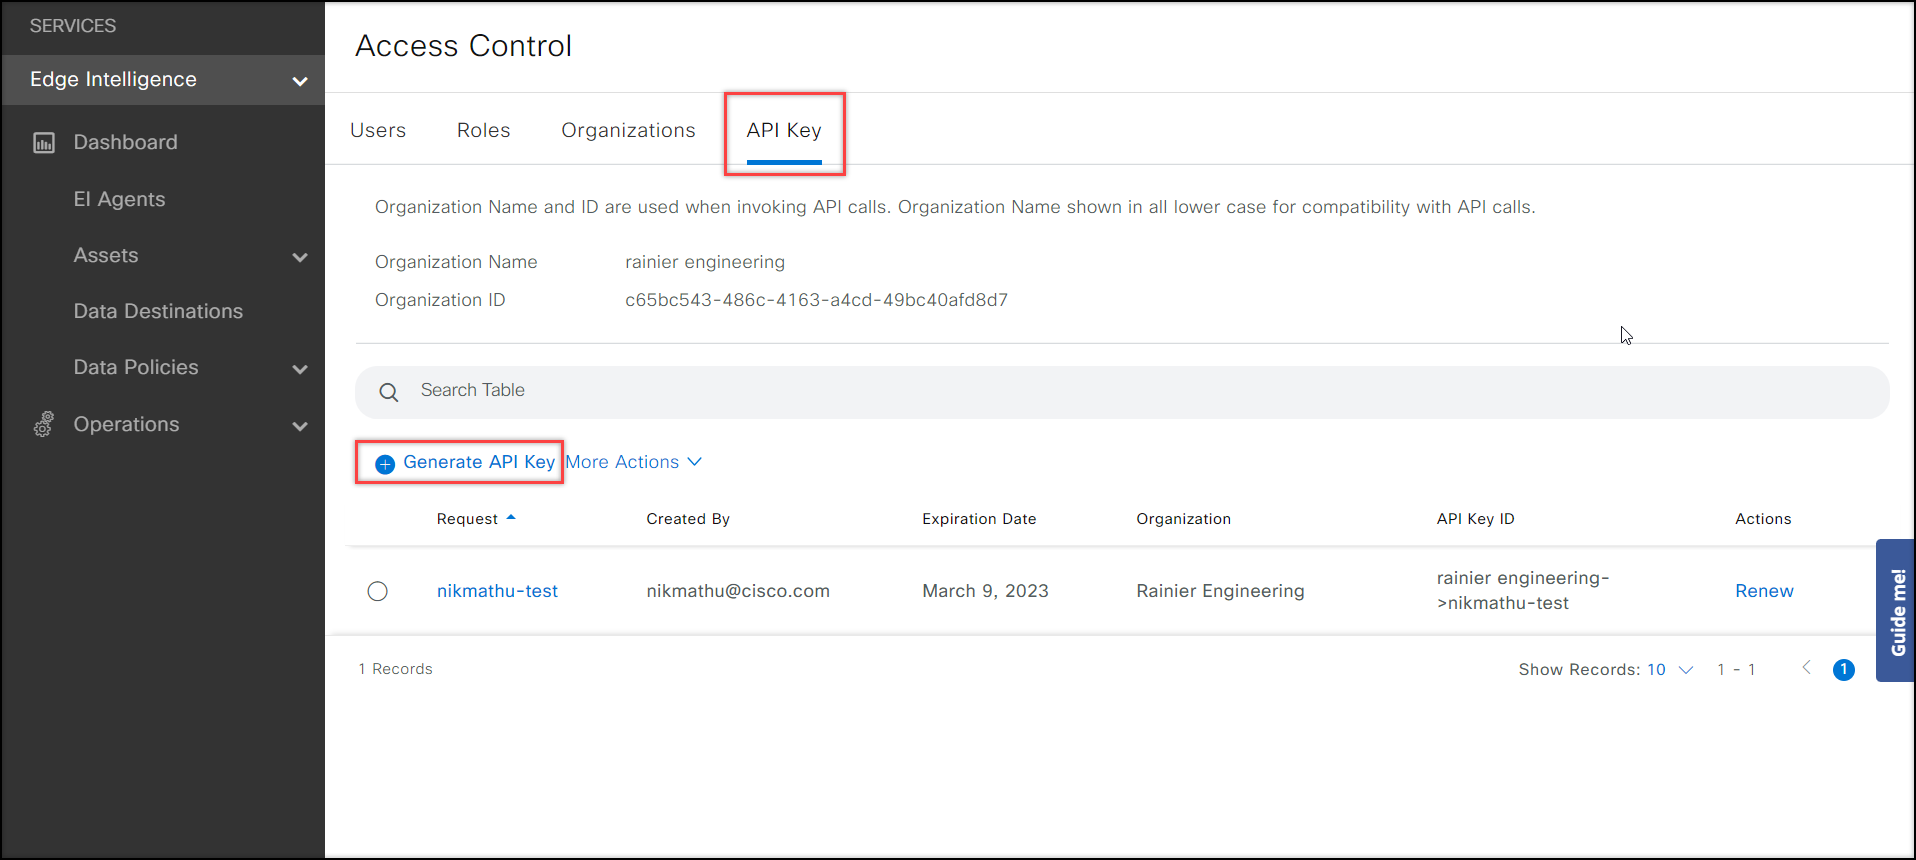
- Log in to IoT Operations Dashboard and click the "people icon" on the far right of the header. Click Access Control.
- Click the API Key tab. Click Generate API Key.
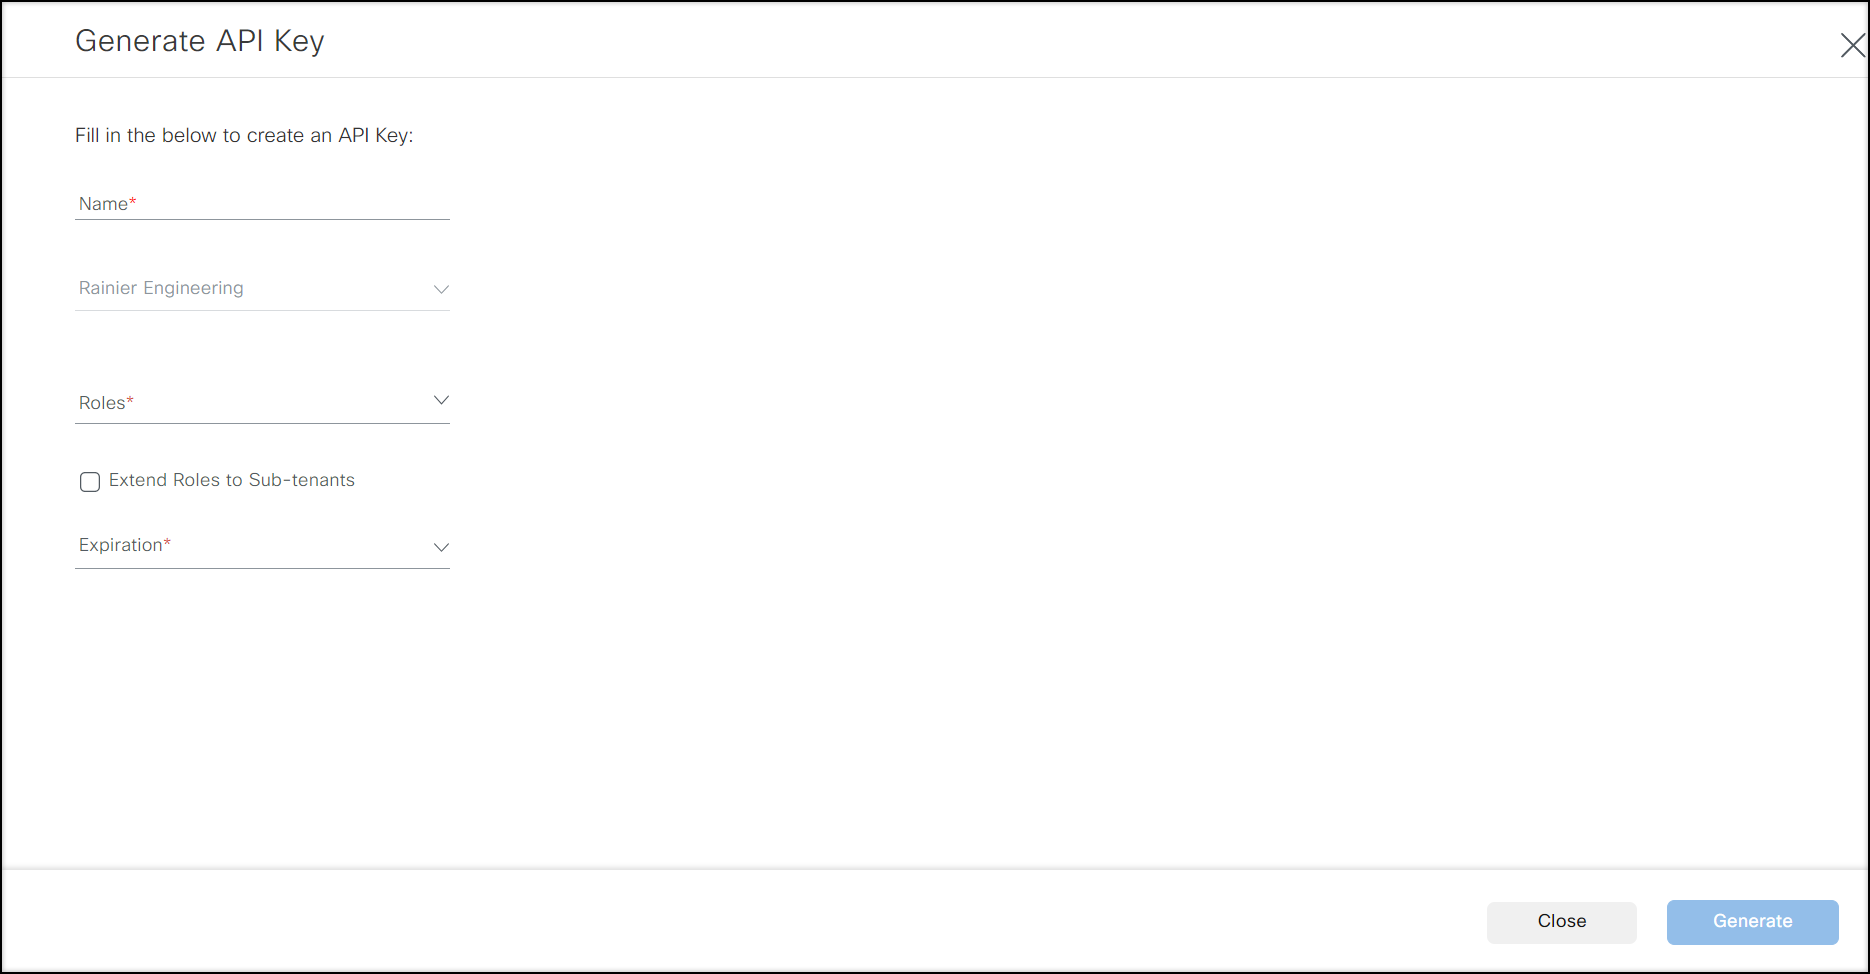
Enter the API key Name, select Role and Expiration time/duration and click Generate.
Copy the API Key Secret.
IMPORTANT: Do not navigate away from this screen before copying the API key; you cannot view it again.
Steps to Generate Access Token
Send a POST request to the following URL with the following JSON content to get the access_token that can be used to invoke EI NB API.
POST {{SERVER_URL}}/iam/auth/token
For Example:
POST https://us.ciscoiot.com/iam/auth/token
Access token generation JSON
{
    "username": "{insert the username here}",
    "password": "{insert the password here}"
}
Example JSON:
{
    "username": "apiuser@acme.com",
    "password": "WileyCoyote21"
}
Example Access token response
{
    "access_token": "eyJhbGciOiJSUzI1NiIsInR5cCIgOiAiSldUIiwia2lkIiA6ICJoTVNCWEpVU3BvYTF6VUxCTGNLVFZNeGFnVzkxM....Q9PA",
    "refresh_token": "eyJhbGciOiJIUzI1NiIsInR5cCIgOiAiSldUIiwia2lkIiA6ICIyN2I2NTE3MC0xMGY0LTRiY2UtYjliMy02ZjBhM...GpADE",
    "token_type": "bearer",
    "expires_in": 300,
    "refresh_expires_in": 1800
}
This gives the access_token. You must use this token for further API calls.
NOTE:
access_tokenis valid for 300 seconds (5 minutes). Use it or generate a new token after 5 minutes.
Steps to fetch x-tenant-id
- Getting the
x-tenant-idusing the Developer tools of any browser:NOTE: This procedure varies slightly based on the browser and in a future release of IOTD, API will be exposed to retrieve this information.
- In the Firefox browser, go to Web Developer Tools and click the Network Tab.
- Use your username and password to log in.
NOTE: You must have Tenant Admin permissions.
- After logging in, the following API call is made with the relative path
/iam/users/me. This can be viewed by filtering the XMLHttpRequest (XHR) API calls.
For example, an API call as https://us.ciscoiot.com/iam/users/me gives the response in the following format:
The above API response returns more than one role as per your user access. Each item in the array includes the name and ID of a tenant and a role. If you have access to only one tenant, then this API response will return the result that has only one item.{ "roles": [ { "tenant_name": "ATRNEU1 LIVE TENANT", "tenant_id": "4ec4e912-a53e-471e-a617-62f47d7e80f6", "role_name": "tenant-admin", "role_id": "8cc52173-9fc1-43a7-8535-b0cd0a560880" }, { "tenant_name": "DemoTenant5", "tenant_id": "4213b2bc-e1ab-4225-acc6-2f64c98d621b", "role_name": "tenant-admin", "role_id": "8cc52173-9fc1-43a7-8535-b0cd0a560880" } ] }
You need to pick the tenant id of the respective tenant and use it as thex-tenant-idin the HTTP header for the API requests. Thisx-tenant-idis mandatory for each API call and it needs to be furnished for each API call.