Getting Started
To begin using Postman with the Meraki APIs, follow the steps in this guide to get up and running.
First, select the “Run in Postman” for the desired version to import a copy of the entire Meraki API collection into your Postman Workspace.
You will be prompted to either install Postman on your computer or via the web application if this is your first time using it. Creating an account is free and will sync your environments automatically.
Once installed, you should be able to open the collection in the left navigation window within the Collections section.
Meraki Dashboard API v1

Meraki Dashboard API v0 [Deprecated]

Advanced Users
Instead of pullling a static copy of the Meraki API with the method above, you can Fork the Meraki Collections from our Public Workspace.
This will keep your collection updated with all of the latest changes from Meraki by pulling any changes.Learn more about Postman Version Control here.
Obtaining your Meraki API key
In order to interact with the Dashboard API, you must first obtain an API key.
- Open your Meraki dashboard: https://dashboard.meraki.com
Once logged in, navigate to the Organization --> Settings menu.
Ensure that the API Access is set to “Enable access to the Cisco Meraki Dashboard API”

Then go to your profile to generate the API key.
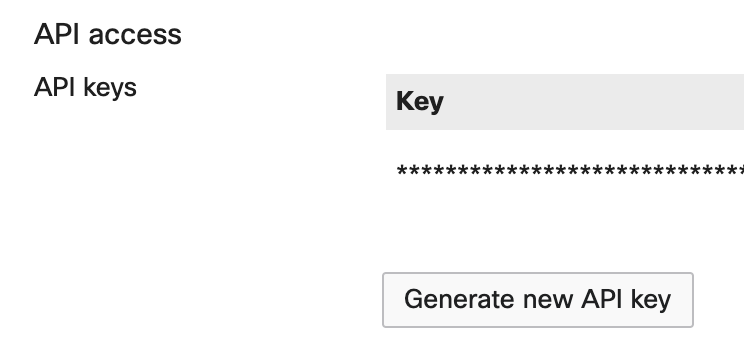
- Push the Generate new API key button
NOTE: Save this key in a secure location, as it represents your admin credentials.
You can also use our API Sandbox to test with an API key and real data.
Read more about Meraki API Authorization
Setup Environment
This section will help you setup an environment to store your variables for future use.
Launch the Postman application and open the Dashboard API v1 Collection.
Click the eye “Environment quick look” icon on the upper-right, and “Add” to create a new environment.


Define Variables
- Give a name to your environment, such as “API Sandbox Demo”.
- Add a variable with name
apiKey, and map it to the value of your API key (section above). - Make sure that the Current Value column is also populated the same way as Initial Value.
- You can add additional variables as you need them while working through the different endpoints.
- The
baseUrlis already defined in the default Meraki collection variables ashttps://api.meraki.com/api/v1but this can be overwritten using your environment. - Update and close out of the environment editor dialog box.

Example using API Sandbox
Test
- Open the Meraki Dashboard API v1 collection
- Select List the Organizations endpoint
- Hit Send and you will see a list of organizations.

If you hover over the endpoint's
{{baseUrl}}variable in orange, you should see that they resolve to the values you defined in your environment or that were set by the Collection variables.
Success!
You now have the power to tap into the full potential of your Cisco Meraki network using Postman.