SSID
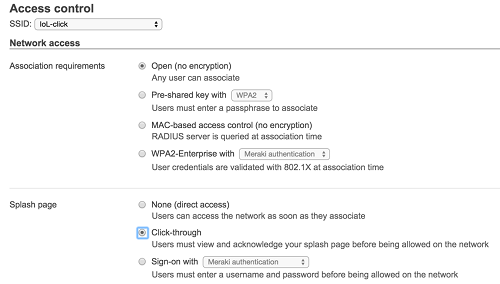
Configure the SSID to support a splash page.
Procedure to configure the SSID:
- In Meraki Dashboard, navigate to Wireless > Configure.
- Select either Click-through or Sign-on based on your requirements.
- If you have selected Click-through, choose IoL-click from the SSID drop-down list in the Access Control and set the Splash page option to Click-through in the Network access.
- If you have selected Sign-on, choose IoL-signon from the SSID drop-down list in the Access Control and set the Splash page option to Sign-on with in the Network access.
- The Sign-on method requires an authentication server. Select Meraki authentication from the Sign-on with drop-down list to use the built-in username and password system. Alternatively, choose the system to meet your requirements.
Click-through
Sign-on

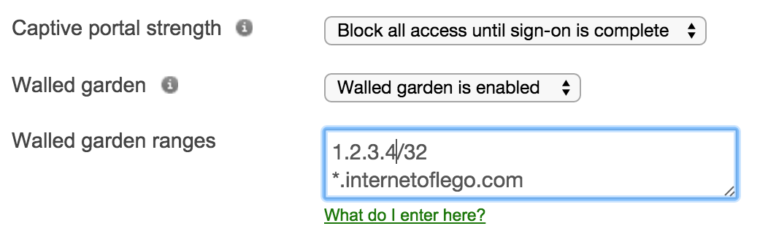
Walled Garden
The walled garden determines what network access the client has before authorization. This is critical for redirecting the client to your web server and its dependencies.
Procedure to enable the walled garden:
- In Meraki Dashboard, navigate to Wireless > Access Control and select the required SSID. Alternatively you can use our Dashboard API SSID endpoint.
- Set the Captive portal strength to Block all access until sign-on is complete.
- Set the Walled garden to Walled garden is enabled.
- In the Walled garden ranges, enter the IP address ranges and domains required for the splash server.
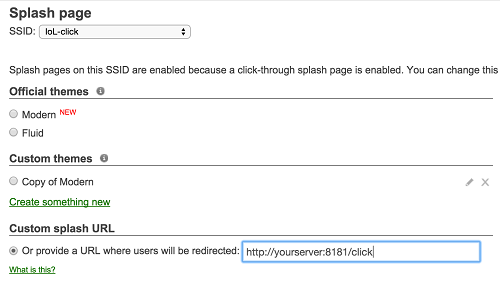
Splash page
Now we need to redirect the client to your web server.
Procedure to configure splash page:
- In Meraki dashboard, navigate to Wireless > Configure > Splash page.
- In Splash page, choose the required SSID from the SSID drop-down list.
- Enter the full path to your web server in the Custom splash URL.