Getting Started
To make use of the node, it's expected that you have a Cisco Meraki account with API access. See the Meraki Dashboard API section for more details.
Install
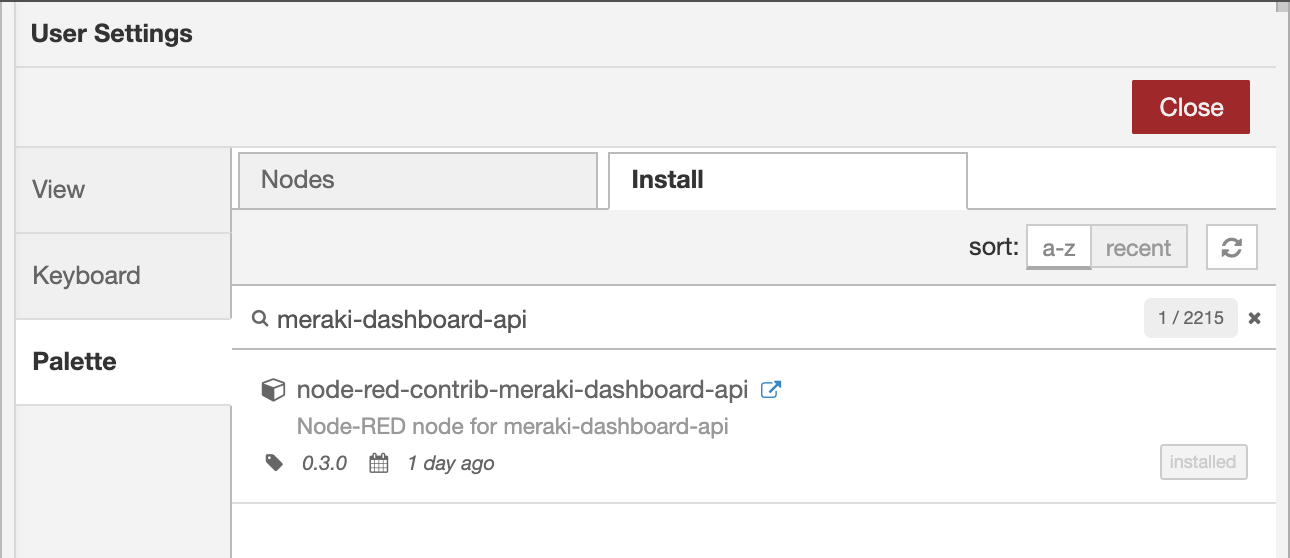
via Palette Manager
Open the Node-RED editor and navigate to the palette manager.
Manage palette --> Install --> Search: meraki-dashboard-api --> Push: Install
via CLI
Open a command line, navigate to the Node-RED install directory and then install the node.
Copycd ~/.node-red
npm install node-red-contrib-meraki-dashboard-api
Then, restart node-red.
Add the node to the flow editor
Find the node from the left palette menu by searching for meraki and dragging the node to your editor area.

Configure API Service
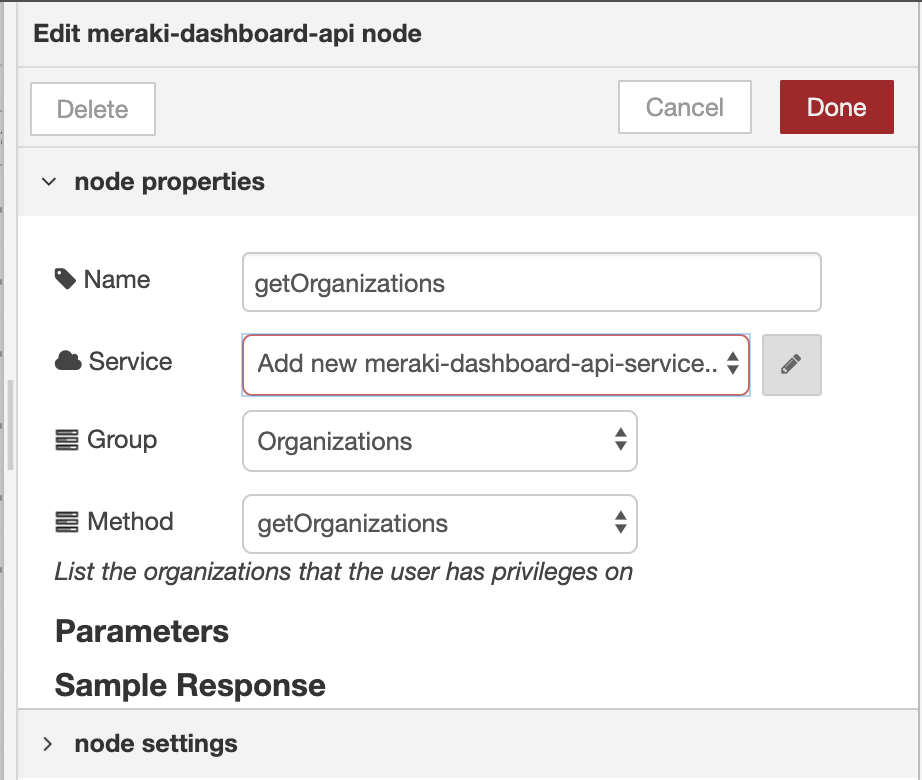
Double click on the node and then push the pencil icon to add a new service and configure its settings.
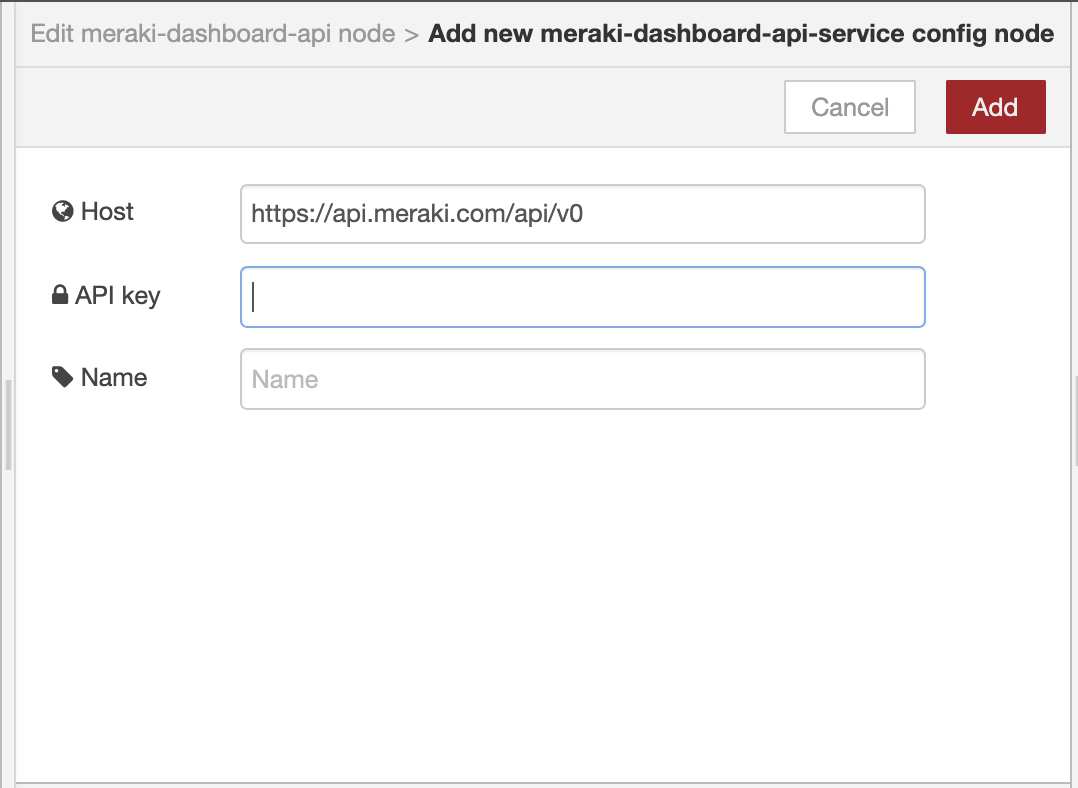
Set your Meraki API key here. Its a good idea to also name the service for the given API key (i.e. Demo Lab).
Importing Examples
Several example flows are included to quickly start using the node. You will need to update the nodes with your service settings.
You can import the built-in examples by selecting them from the menu.
Import --> Examples --> meraki-dashboard-api --> select an example
Or you can get the examples from the source respository here.

Working with Input Data
The node can be programmed with specific parameter variables, such as organizationId or serial. All parameters are attached to the msg object. The msg.payload is used to send changes to Meraki and will be used as the body for the API request.
Using the Node Parameter Form
For quick solutions or static settings, you can use the Parameters form within the node. The descriptions are provided for each parameter. The input box for each param accepts a string for the value.

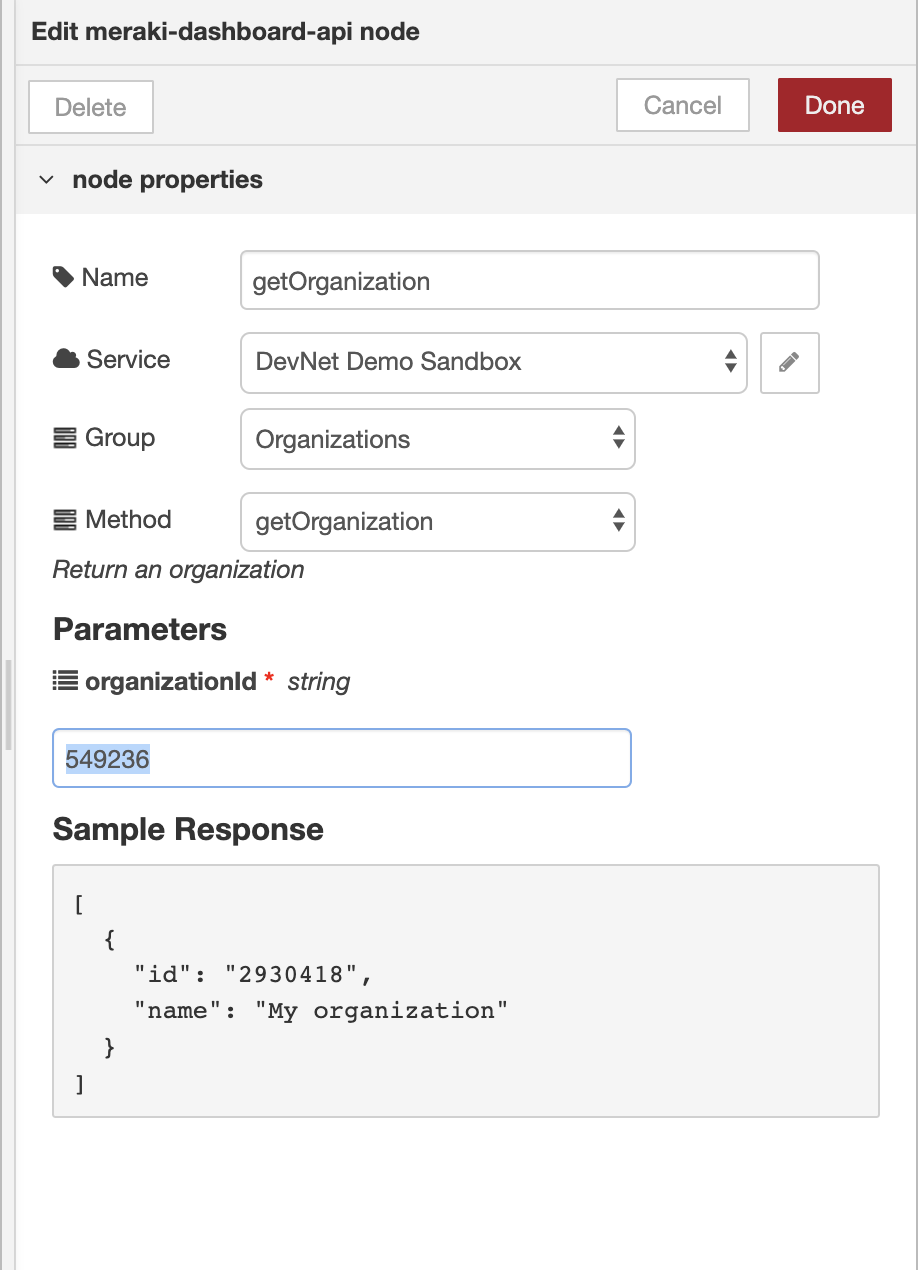
Using the Node Input msg Object
Within the parameters form, each param name is defined in the input placeholder hint. Use these values to construct a function that assigns the parameter values.

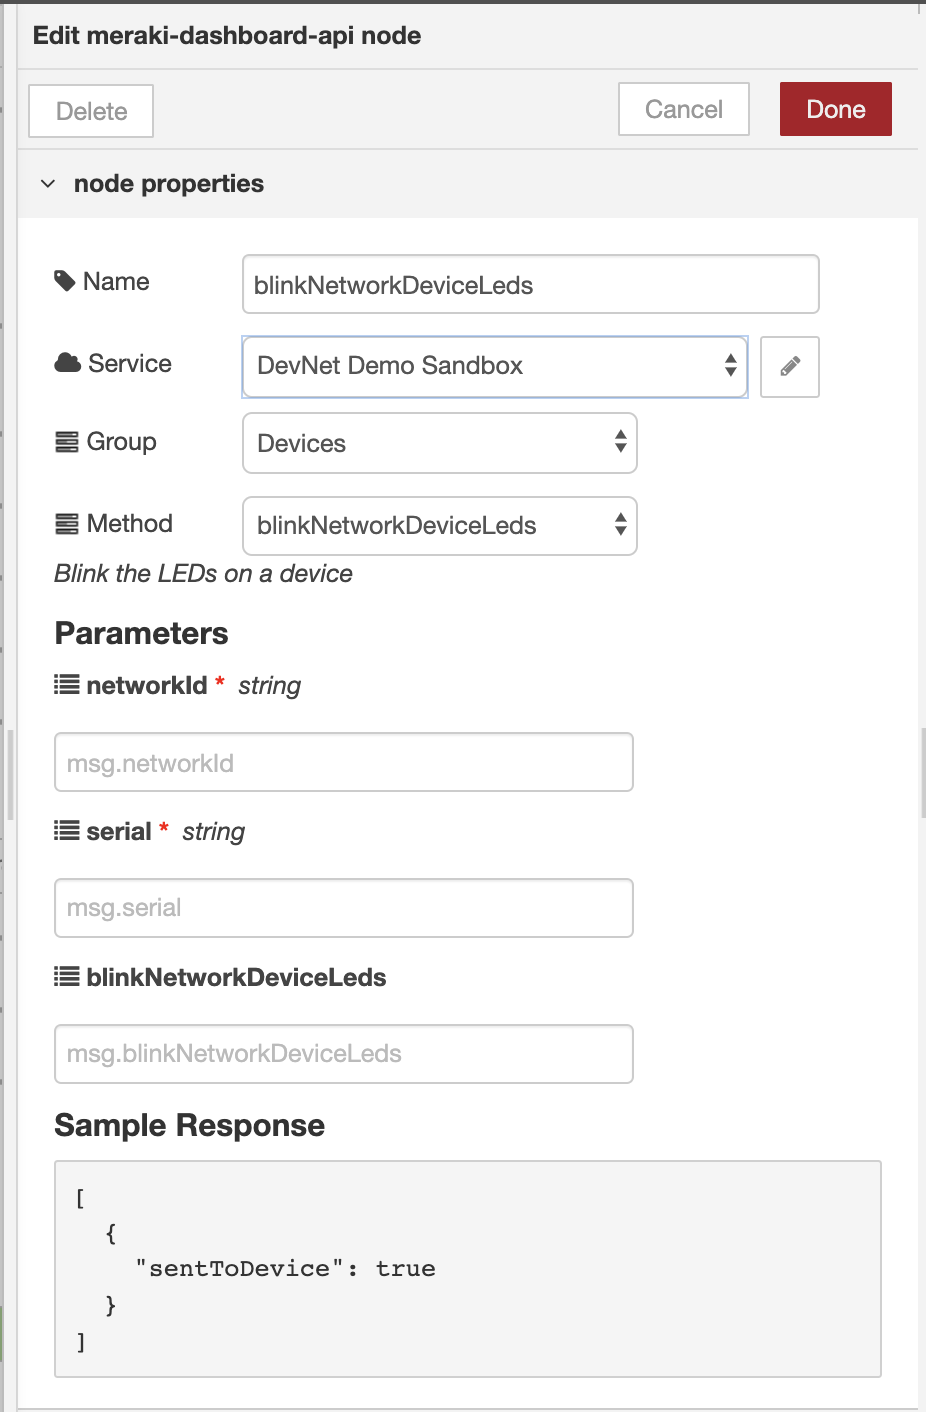
If the parameter name matches the method name, then msg.payload can be used. This parameter represents the body being sent with a PUT or POST request using the Meraki API.
Use a function node to define the msg parameter values.

Double clicking on the node will bring up the JavaScript editor.
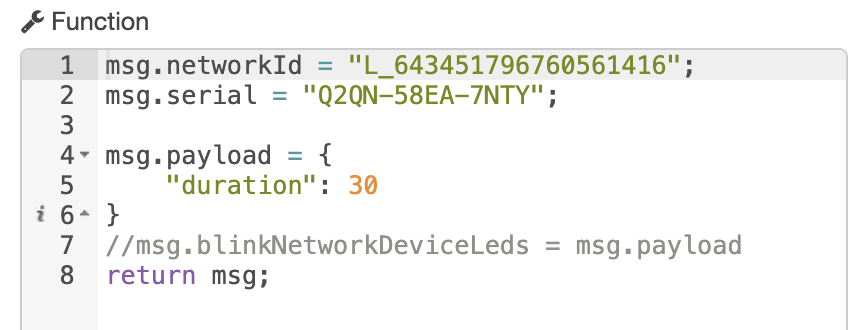
Working with Output Data
Exploring the Data
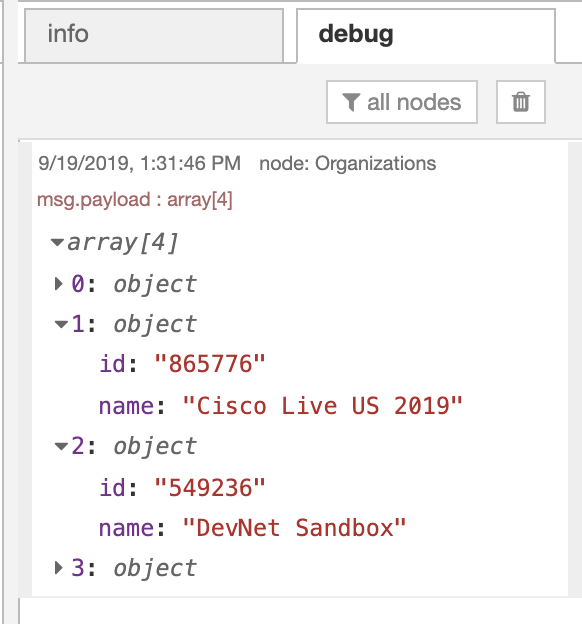
Use the debug tab to see the output of your data.
You can then view the JSON data and expand the nested properties.
