- Overview
- Product Documentation
- CML Release Notes
- Getting Started
- CML 2.1 User Guide
- CML User's Guide
- Overview of CML 2.x
- Using CML and the HTML5 UI
- Dashboard
- Workbench
- Adding Nodes to a Lab
- Starting, Stopping, and Wiping Nodes
- Deleting Nodes
- Creating Links
- Rules for Creating Links and Interface Overprovisioning
- Adding Interfaces and Overprovisioning
- Overprovisioning Interfaces with Link Creation
- Starting Simulations
- Connecting to a Node's Console
- Setting CPU limit on node
- Launch sequencing and CPU limiting
- Stopping Simulations
- External Connectivity for Simulations
- Link Packet Capture
- Breakout Tool
- Custom VM Images
- Creating a New Node Definition
- CML 2.1 Admin Guide
- Resources
Changing the Lab List View and Multi-Selecting Labs
The Dashboard uses a tiles-based view to show the list of labs. You may change the Dashboard’s layout from tiles view to list view. The list view permits the selection of multiple labs, but the tiles view does not. To apply an action to multiple labs at once, you must first switch to list view.
For administrators, an additional Show All button will be available that toggles the display of labs for all users.
Procedure
Click the Show List Show List toggle button in the dashboard header to change the Dashboard’s layout to list view.
After the button is toggled, the Dashboard shows the labs in a list.
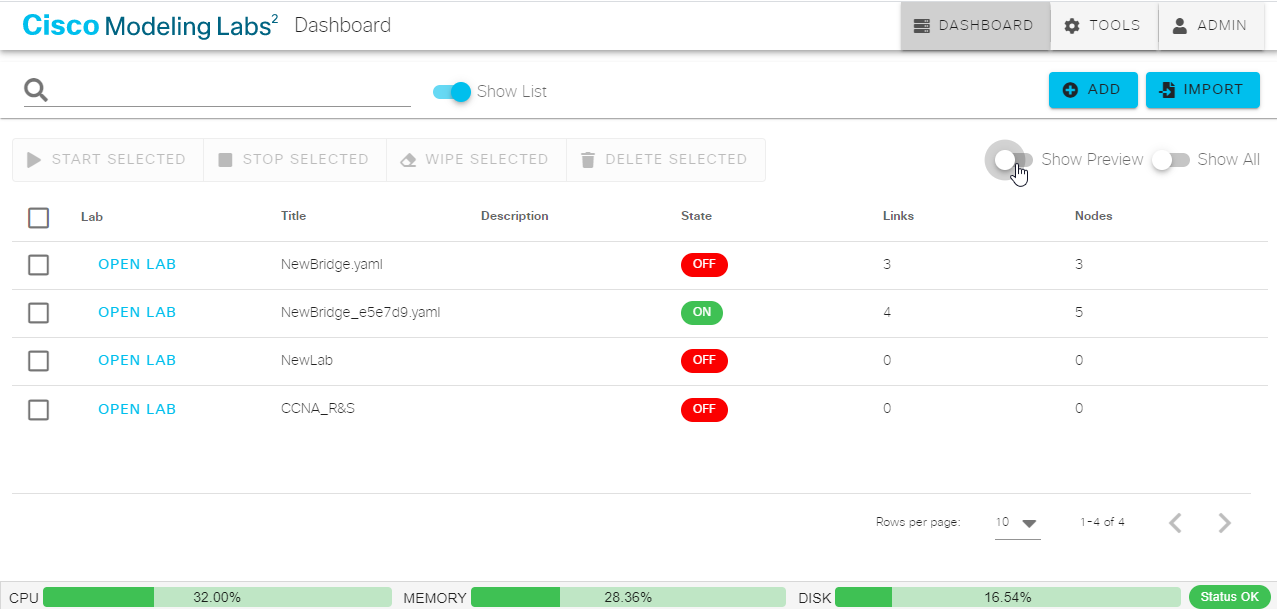
List view for Dashboard
Select one or more labs by checking the check box in that lab’s row.
With multiple labs selected, you can perform an action (start, stop, wipe, or delete) on all of the selected labs.
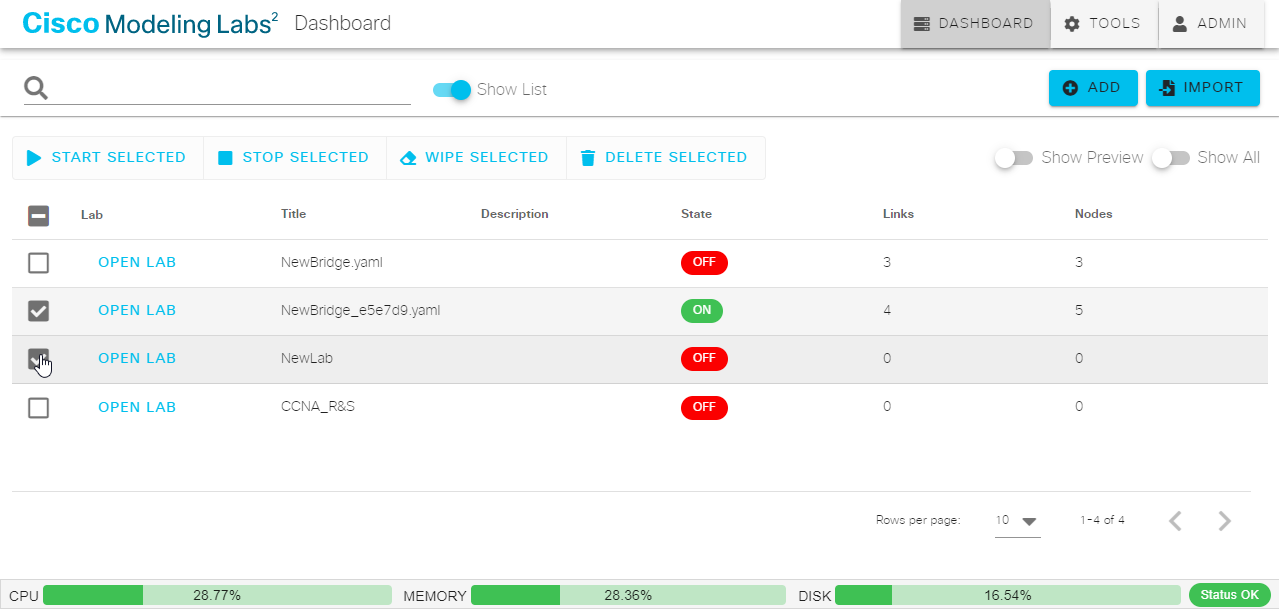
Selecting multiple labs in the Dashboard