Onboard sensor
Alert: Cisco has made the end-of-life (EOL) announcement for the Cisco Industrial Asset Vision (IAV).
Add a Sensor/3rd Party Sensor
Click Onboard Sensor/Bridge.

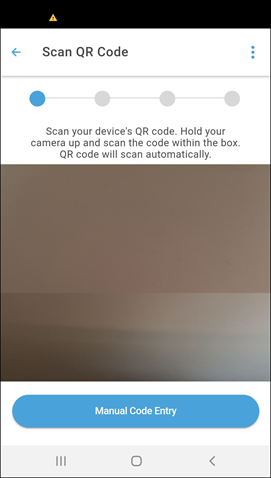
Scan the QR code present on the sensor or enter the DevEUI manually.

OR

Once the sensor is identified, click Next.

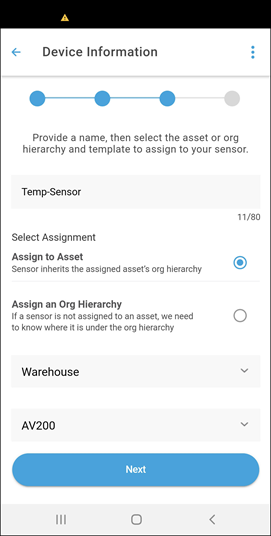
Enter the sensor name. Select a level in the Choose Hierarchy drop-down box or the Asset to which the sensor has to be assigned. If the sensor is assigned to an asset, then it will inherit the organization hierarchy level of the asset. The hierarchy shows the levels to which you have access to in bold. The other levels are disabled (grayed out). You can also use the Search field to search for the required level. Start typing to narrow down the search.

Select the asset from the drop-down list to which the sensor should be assigned. This step is optional.
Select the template from the drop-down list to which the sensor should be assigned. This step is optional. If you don't choose a template, the sensor will be assigned to the default template of the sensor model.
Note: Only the templates associated with the current sensor model are displayed.
Click Next.
Tap, hold, and then drag the marker to change the sensor location. Click Next.
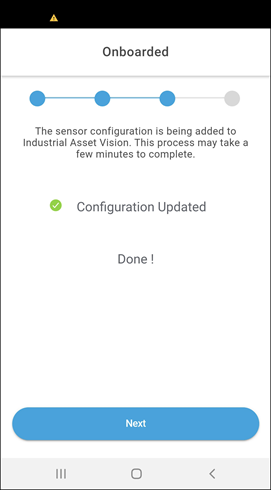
Once the sensor is configured, click Next.


Turn on the sensor.

Click Done.
In the Inventory tab, you can select an organization level, and based on this selection, the list of sensors is displayed. To select an organization level, click Global on the top right of the screen and select a level displayed below.
Sensors can have alerts associated with them. Sensors with one or more alerts are indicated with a
 . Click on a Sensor name to view its details. Select Show Alerts on top of the screen to view all the alerts for that sensor. The number on the alerts bar indicates the active alerts count.