Record inline sessions
This Secure Equipment Access (SEA) feature allows you to record sessions for future use, such as auditing or educational purposes. Recordings are stored in your own Amazon S3 storage by using the retention policies configured for that location. The SEA System Admin or Access Admin can enforce session recording in an access group before an SEA user can access an OT asset in that group. Recording begins when the user launches a session from a group that enforces recording.
To watch a video tutorial, see Inline session recording tutorial.
Use this topic to understand the permissions and workflow for inline session recording. To configure the Amazon S3 storage integration used for recordings, see Configure Secure Equipment Access to use an Amazon S3 external integration.
Prerequisites
- An Amazon S3 external integration is configured for SEA. If your workflow requires activation, make sure that the S3 integration is also active. For setup instructions, see Configure Secure Equipment Access to use an Amazon S3 external integration.
- The access group is configured to enforce inline session recording. For more information, see Manage and schedule access for existing SEA access groups.
Note:
- Recording is only available to the SEA System Admin or SEA Access Admin role.
- Inline session recording is allowed for only SSH, RDP, VNC, and Telnet access methods.
- The video is limited in size to 640x480 at 25 FPS, and encoded in h264 (MPEG-4-AVC) irrespective of the original access method or screen definition.
AWS S3 permissions for account added via external integrations
The AWS account connected through external integrations must have the following AWS S3 permissions:
| Permission | Description | Condition/Note |
|---|---|---|
| "s3:PutObject" | Allows the dashboard to upload files to the S3 bucket. | Required for data creation. |
| "s3:GetObject" | Allows the dashboard to retrieve files from the S3 bucket. | Required for data reading. |
| "s3:ListBucket" | Allows the dashboard to list the contents of the S3 bucket. | Required for browsing and file discovery. |
| "s3:GetObjectTagging" | Allows retrieval of S3 object tags. | Required only if session metadata needs to be retrieved by the dashboard. |
Record an Inline session
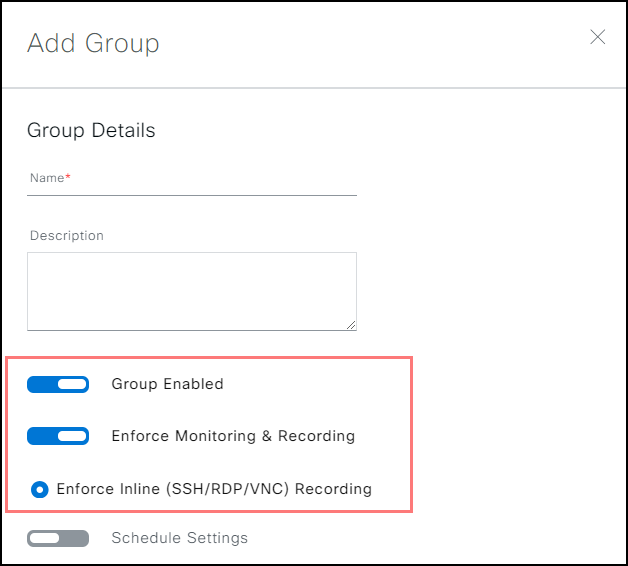
Before you begin, verify that the group is enabled and that the Enforce Monitoring and Recording (Enforce Inline (SSH/RDP/VNC) Recording) setting is enabled. See Manage and schedule access for existing SEA access groups.
Note:
- The recording session is converted and stored in MP4 format.
- Recording isn't enforced when launched from the global All Access Method group (available only to SEA System Admin).
Note: After the remote session is finished, the recording session is converted and stored in MP4 format in the S3 bucket you created.
To Record an Inline session:
- Choose Secure Equipment Access > Remote Sessions.
- Choose the Group that has the Session Recording enabled and launch the session you want to record.
Note: Recording isn't enforced when launched from the global All Access Method group (available only to SEA System and Access Admin roles).

- Click Open Session located in the Actions column.
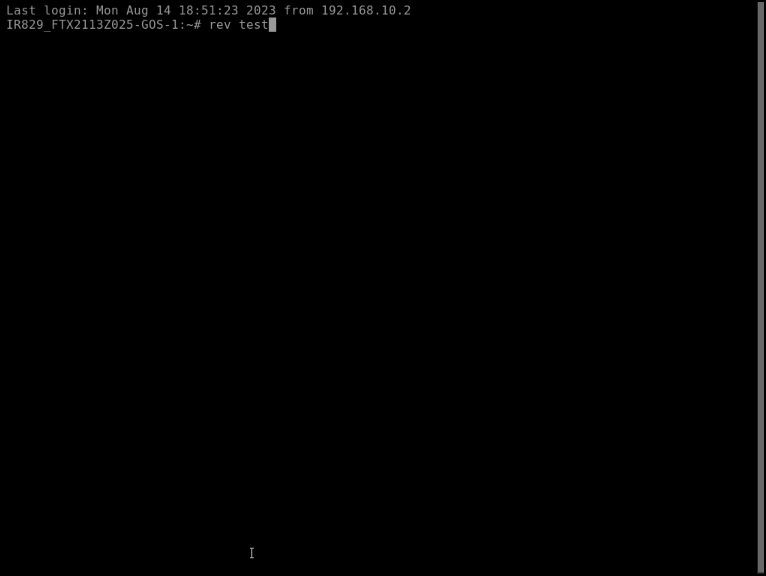
- When the session window opens, the recording session begins.
Note: Depending on the Access Method you use, you might have to use credentials. (Refer to Access Methods).
- When you are finished recording, close the window to end the recording session. The session automatically begins the transcription process to MP4, which can take several minutes depending on the recording length.
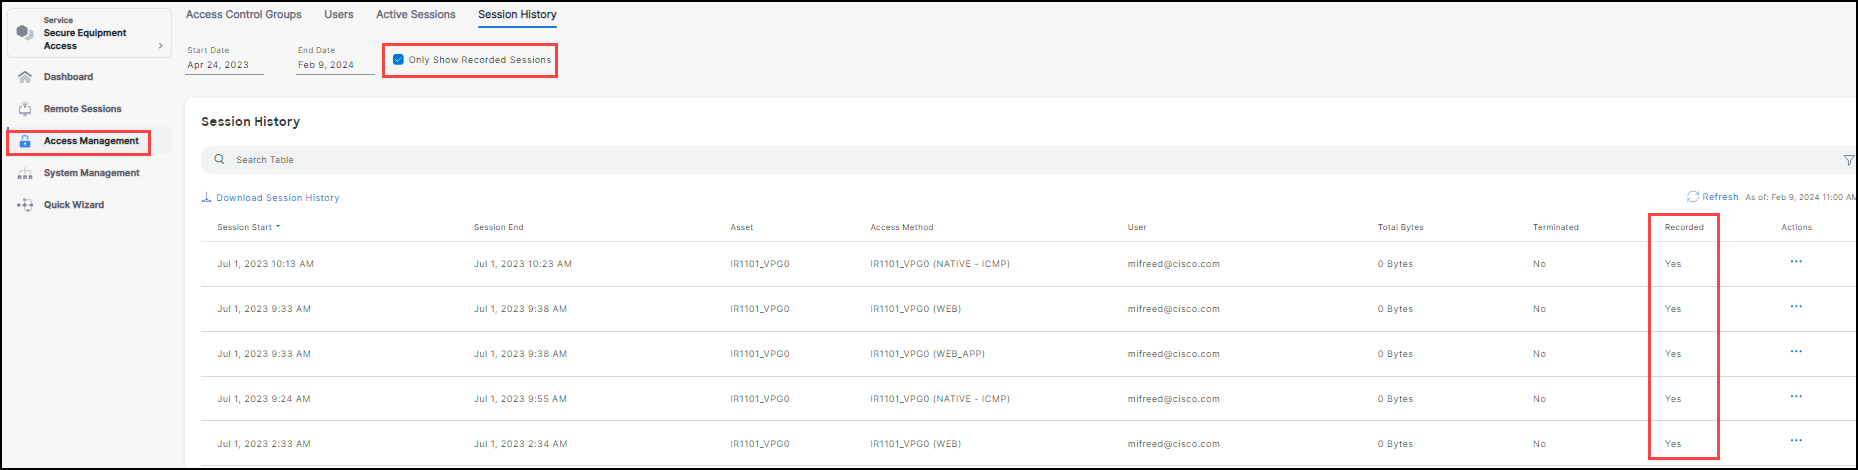
- Click Access Management. The recording session is listed. The recorded status is Yes.
Note: You can use the Only Show Recorded Sessions to search for sessions with Recorded status marked Yes.
ATTENTION: The default recording state is set to No during recording and will switch to Yes when the transcription process is completed. Note: The SEA Admin has access to all the recordings generated by any user that launched a session in a Group that has Session Recording enabled.
- Click Actions. The menu option window opens.
- Choose the option you want to use.
Note: It can take several minutes before all the options become available.
- View Full Auditing Info: View details of the recording session.
- View Inline Recording: View the recording as an MP4 file.
- Download Inline Recording: Download to your local device.
Review a recording
To review a previously recorded session:
Choose Access Management > Session History> Selected Session> Actions> ...> View Inline Recording or Download the video file. For more information on reviewing recordings, see Monitor and terminate sessions.